-
Move mouse to Rhino function Surface from 3 or 4 corner points  and hold down left mouse button for several seconds to pop up
 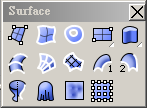 , run
, run .
.
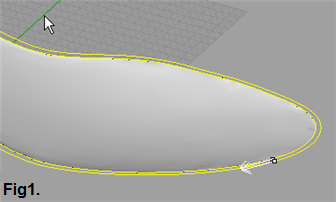
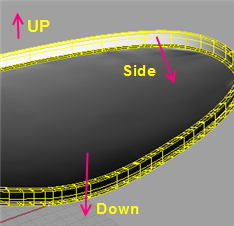
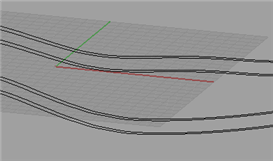
7.1 According to prompt select two curve(see fig1.) to do loft surface, the parameters setting(see following dialog box) and press OK button to compute.

7.2 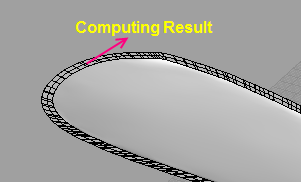
-
Select the all of the objects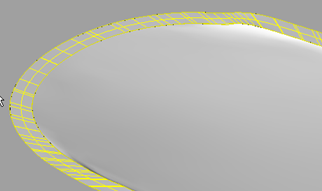 in the screen, and run Rhino function Group
  to create a single unit.
-
Move mouse to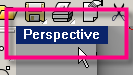 and double click the left mouse button to set standard four-veiwport layout .
-
Move mouse to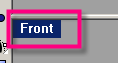 , double click the left mouse button to
maximize Front viewport.
, double click the left mouse button to
maximize Front viewport.
-
Run Rhino function Copy 
11.1 According to prompt, define the start position in the screen, and input -6 to end position, and then pressing Enter key to next step.
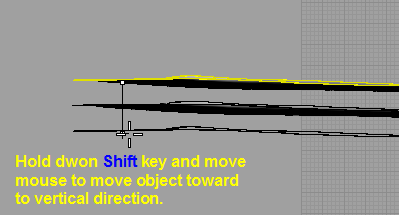
11.2 In the screen, hold down Shift key to move objects toward to vertical or horizontal direction.
11.3 To the new position, it can pick left mouse button to confirm.
-
Move mouse toand double click lhe left mouse button to set standard four-veiwport layout .
-
Move mouse to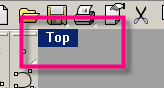 , double click the left mouse button to
maximize Top viewport.
, double click the left mouse button to
maximize Top viewport.
-
Move mouse to Rhino function Polyline and hold down left mouse button for several seconds to pop up
 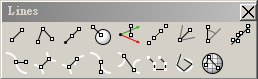 , run
, run .
.
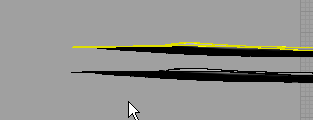
14.1 Near to heel area, it draws one line.

-
Change to Perspective viewport, Move mouse to Rhino functionSurface from 3 or 4 corner points and hold down left mouse button for several seconds to pop up , run .
.
15.1 Set optioin 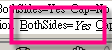 , it can draw the object on both sides of the start point.
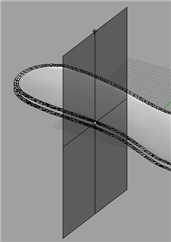
-
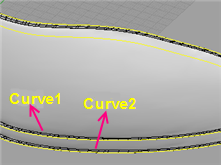
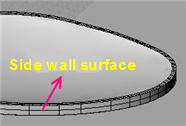
Run Rhino function Loft in the .
16.1 Select curve1 and curve2 to crrete the side wall surface.
-
Select the objects(see figure) in the screen.
-
Run Rhino function Group to create a single unit.
-
Run Rhino function Hide Objects  to hide the group that is sole surface and it only has curves in the screen.
- Run Rhino function Trim
 to trim curve.
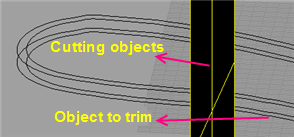
- Select the surface
 and pres Del key to delete.
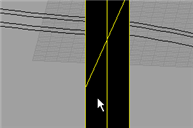
- Run Rhino function Line in the .
22.1 Turn on Osnap(see label1), and turn off Disable(see label2), and select End check box(see label3) .

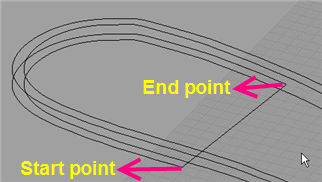
22.2 Define start and end points which show as figure to draw one line.
- Turn off Disable
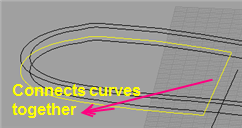
- Run Rhino function Join
 to connect curves together.